Selling in Maineville starts online, and buyers decide fast. When photos pop and rooms feel inviting, your listing earns more clicks and showings, which often leads to stronger offers. If you want simple, budget-smart steps that work for split-levels, two-story traditionals, and newer subdivisions in zip 45039, you’re in the right place. Here’s a clear plan to prep for photos and launch day so your home stands out from the start. Let’s dive in.
Why staging matters in Maineville
Recent snapshots for 45039 show median sale prices in the mid-to-high $300s and average days on market near the mid-40s. In a market like this, first impressions matter. With many buyers looking for move-in-ready homes, the listings that look bright, clean, and well-staged tend to attract faster tours.
Maineville’s small but growing population and above-average household incomes point to buyers who value practicality and convenience. Homes here are served by Little Miami Local Schools. Kitchen, living spaces, and the primary suite usually do the heaviest lifting in buyer decisions, so that is where your staging dollars go farthest.
What staging and photos deliver
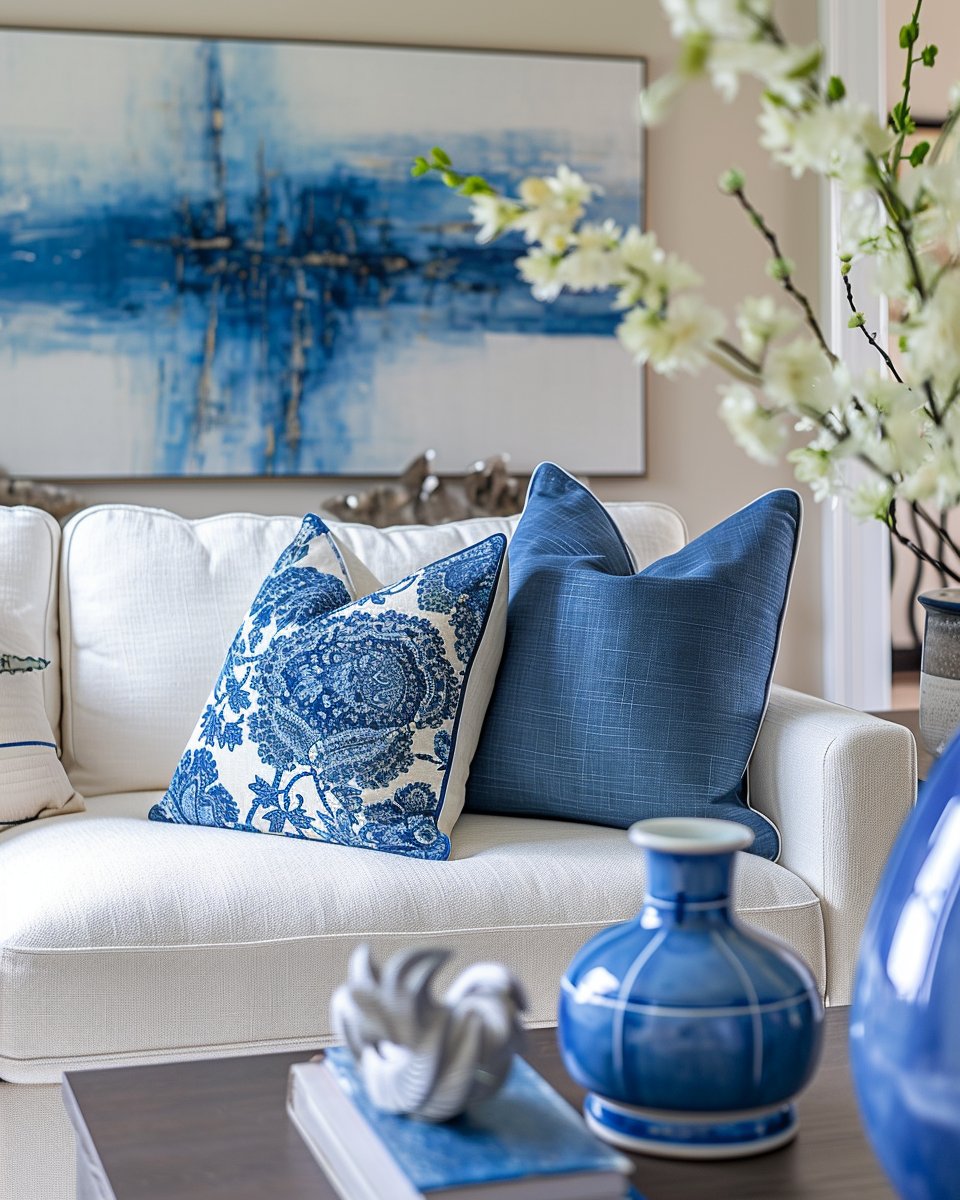
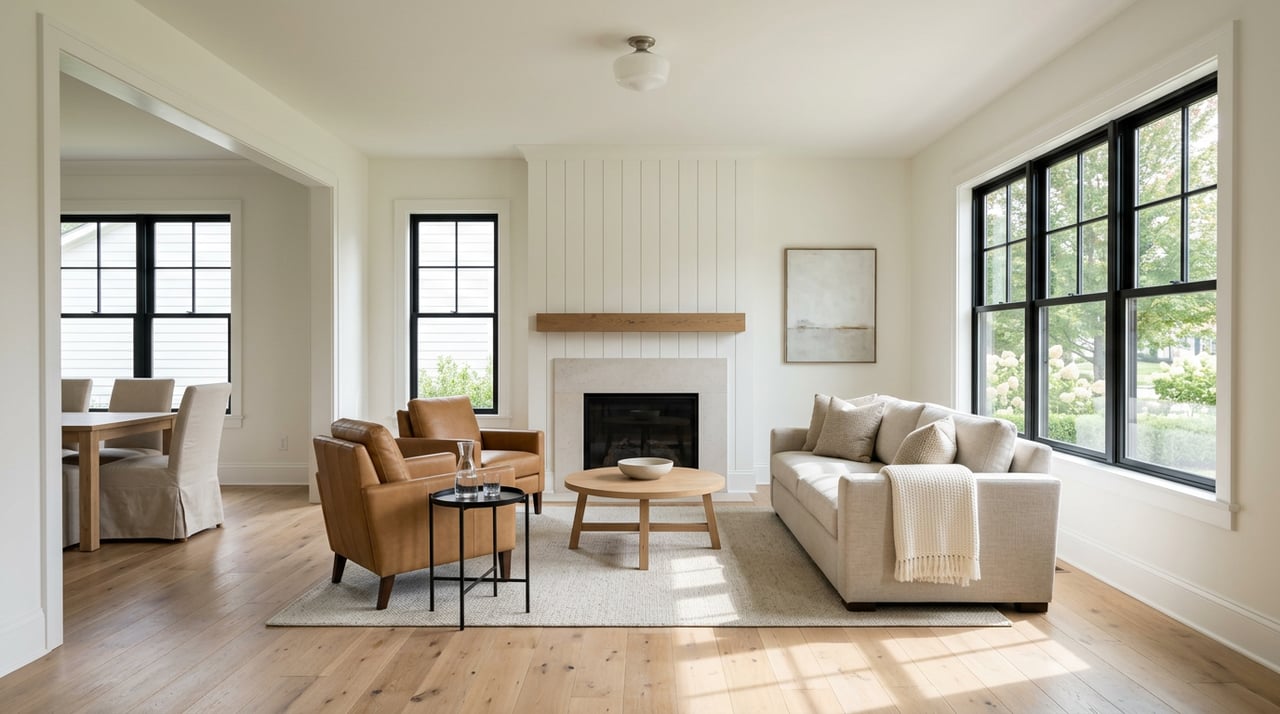
Independent industry surveys report two consistent findings: staging often shortens time on market, and it can help lift offers. Many agents report that staged homes receive better feedback and sell faster. The highest-impact rooms to stage are the living room, kitchen, and primary bedroom.
Professional photography is a proven difference-maker. Analyses of listing performance show that homes shot by pros typically sell faster and may command more attention and stronger results than listings with weaker imagery. The takeaway is simple. Pair thoughtful staging with strong photos to maximize your online appeal.
A simple 5-step pre-listing plan
Follow this sequence to stay on track and avoid rush decisions.
- Market diagnostic and walkthrough
- Meet with your agent to review comparable listings and buyer expectations.
- Identify top staging priorities by room and set a realistic budget.
- Declutter, depersonalize, quick repairs
- Pack personal photos and excess décor. Clear counters and floors.
- Fix obvious items like loose handles, scuffed walls, and squeaky doors.
- Targeted updates and curb appeal
- Use light, warm neutral paint where needed. Swap dated bulbs for bright, warm LEDs.
- Freshen mulch, edge beds, clean or paint the front door, and update faded house numbers.
- Stage priority rooms
- Focus on the living room, kitchen, and primary bedroom even if you do not stage the entire home.
- Edit furniture to open sightlines and create a few simple, styled moments.
- Book professional photography
- Schedule photos after staging is complete so the listing launches with peak visuals.
Universal staging priorities
- Light and bright: Open blinds and turn on all lights for showings and photos. Clean windows and fixtures.
- Neutral and tidy: Use light neutrals on walls, crisp bedding, and simple art. Store pet items and loose cables.
- Right-size furniture: Remove bulky pieces to make rooms feel larger and improve flow.
- Simple styling: Add texture with a throw, a plant, or a bowl of lemons. Keep it calm and uncluttered.
Split-level homes: make levels feel unified
Staging goals: create visual continuity and show purposeful uses on every level.
- Use one neutral paint palette across adjacent levels to connect spaces.
- Choose low-profile furniture to protect sightlines between stairs and living zones.
- Define areas with rugs and show the lower level as real living space, such as a media room, playroom, or office.
- Brighten landings with a mirror or slim console to show scale and function.
- For photos, capture one angle that clearly shows how levels relate.
Two-story traditionals: highlight flow and calm
Staging goals: emphasize foyer impact, easy transitions between rooms, and a restful upstairs.
- Create an inviting entry with a tidy bench or console and a clear view line into main spaces.
- Anchor living and dining areas with right-sized rugs and minimal furniture.
- Keep kitchen counters clear. Add one styled vignette, like a tray with a plant and cookbook.
- Stage the primary bedroom as a serene retreat with neutral bedding, lamps, and uncluttered nightstands.
- Photograph strong downstairs-to-upstairs sight lines and the primary suite.
Newer subdivisions: show turnkey living
Staging goals: underscore modern convenience and ready-to-use outdoor space.
- Organize mudrooms and garage storage so buyers see everyday function.
- Keep open-plan areas edited and cohesive. Use soft textures that read well in photos.
- Stage patios or decks with a simple bistro set or lounge chairs to signal usable outdoor living.
- Quietly highlight features like built-ins, newer appliances, or smart-home gear in your listing remarks.
Basements and bonus spaces
- Finished spaces: stage with one clear purpose, like a media room, guest suite, or office. Add layered lighting.
- Unfinished spaces: declutter so the footprint reads clearly. Sweep, brighten with utility lighting, and show storage potential.
Photo-ready timeline and checklist
Use this week-by-week guide to reduce stress and avoid last-minute scrambles.
2–4 weeks before listing
- Complete decluttering and minor repairs. Do touch-up paint and hardware swaps as needed.
- Confirm your staging plan and book the photo date.
7–10 days before photos
- Finish room setups. Deep clean carpets, grout, and windows.
- Tidy landscaping. Add fresh mulch if needed.
Photo day must-do list
- Turn on every light. Open blinds and curtains.
- Hide cords, pet bowls, litter boxes, and trash cans. Close toilet lids.
- Clear kitchen and bath counters. Place one or two simple vignettes.
- Move cars from the driveway. Make sure the thermostat is comfortable.
Which photos to lead with online
- Kitchen
- Main living or great room
- Primary bedroom
- Primary bathroom
- Front exterior
- Backyard or outdoor living
- Bonus room or basement
Budget ranges and expected results
Every home and scope is different, but these national ranges can help you plan.
- Stager consultation: about $150 to $600, one time.
- Occupied-home staging: often $800 to $3,000 depending on rooms and rentals.
- Vacant-home staging: several thousand dollars, with per-room monthly furniture rentals commonly in the $400 to $700 range.
- Professional photography: often $100 to $400 for standard packages. Upgrades like twilight, drone, or 3D tours are extra.
What to expect
- Time on market: Many agents report staged, professionally photographed listings sell faster than unstaged ones.
- Offers and price: Some surveys show staged homes receive offers that are 1 to 10 percent higher. Results vary by property and competition, so use conservative math. If a $2,500 prep budget helps you sell weeks faster or supports even a modest premium, the combined benefit can outweigh the cost.
How we coordinate everything for you
Here is how a team-driven approach streamlines your sale.
- Pre-listing consult: We assess condition, compare local listings, and map your top three staging priorities.
- On-site plan: We connect you with a stager or create a DIY plan, then schedule installation and photography so your home launches with its best look.
- Marketing launch: After photos, we time MLS and Coldwell Banker distribution to maximize weekend traffic and coordinate open houses or virtual options as needed.
Ready to see which updates will matter most for your home and budget? Book a friendly, no-pressure consult with The Woehrmyer Team to get a tailored plan, cost ranges, and a photo-day checklist you can use right away.
FAQs
What rooms should Maineville sellers stage first?
- Prioritize the living room, kitchen, and primary bedroom because they influence buyer decisions most and photograph best.
How far in advance should I start staging before listing?
- Begin 2 to 4 weeks before your target photo date so you have time for decluttering, minor repairs, and coordinated room setups.
Are professional photos worth it for a 45039 home?
- Yes. Professional photography is a low-cost, high-impact step that typically boosts online views and can help homes sell faster.
What are affordable curb appeal upgrades that pay off?
- Fresh mulch, edged beds, a clean or painted front door, updated house numbers, and a power-washed walkway create a strong first impression.
How should I stage a finished basement in Maineville?
- Give it one clear purpose, such as a media room or office, remove storage clutter, and add layered lighting so it photographs as true living space.